How to design a Custom Tarot Card and Oracle card?
Designing a custom Tarot or Oracle card deck is a deeply personal, creative journey, one that turns your unique vision into a tangible, interactive tool. Whether you’re an independent artist, spiritual creator, or brand owner, crafting a deck that reflects your voice while meeting professional printing standards requires careful planning, intentional design choices, and attention to detail.
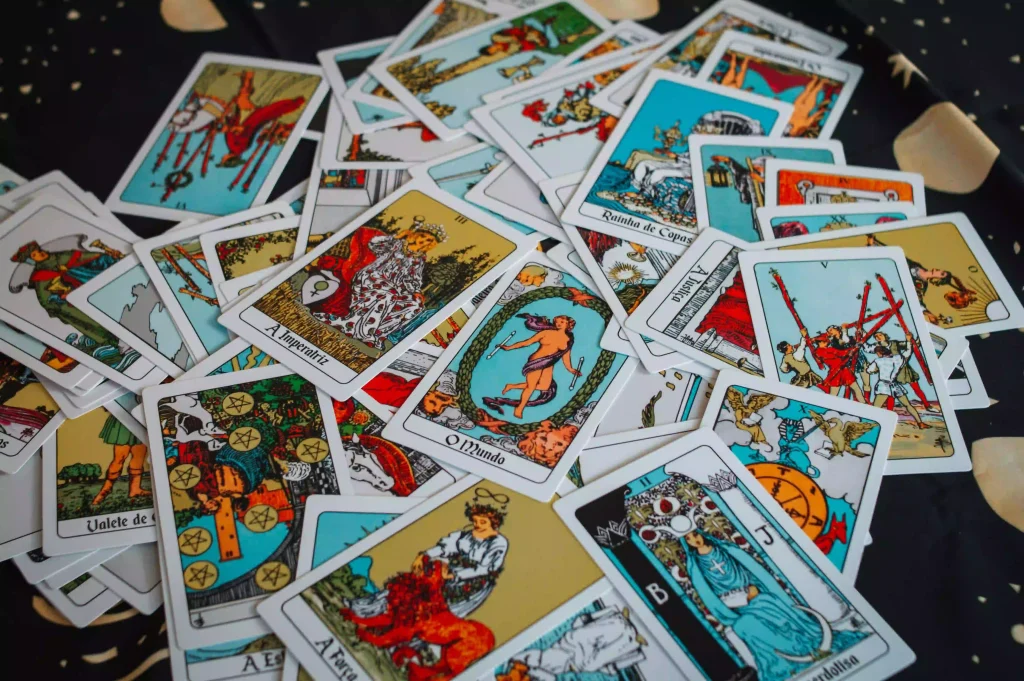
In this guide, we’ll walk you through the end-to-end process of designing a custom Tarot or Oracle card deck, from concept to print-ready files, so you can bring your deck to life with clarity, consistency, and quality.
1. Define Your Core Concept & Narrative
Every great deck starts with a clear, cohesive story. Before opening your design software, take time to ground your vision:
- Choose your deck type: Tarot decks typically follow the 78-card structure (Major Arcana + 4 suits of Minor Arcana), while Oracle decks are flexible (usually 44–52 cards) with no fixed rules.
- Set a theme & tone: Will your deck focus on nature, mythology, astrology, self-love, or a specific cultural tradition? Define the emotional and spiritual tone (e.g., whimsical, minimalist, mystical, bold) to guide all design decisions.
- Outline your card meanings: For each card, write a core message, keyword, or short interpretation. This will inform your artwork, typography, and layout, ensuring every visual element serves the card’s purpose.
A strong concept keeps your design consistent and helps your audience connect with your deck’s unique identity.
2. Plan Your Card Dimensions & Layout
Professional custom card decks follow standard sizes to ensure compatibility with printing and packaging:
- Tarot deck size: 70mm × 122mm (2.75″ × 4.8″) – the most common, classic size.
- Oracle deck size: 75mm × 125mm (2.95″ × 4.9″), 80mm × 120mm (3.15″ × 4.7″), or 89mm × 127mm (3.5″ × 5″) – larger options offer more space for detailed artwork and text, ideal for Oracle decks with elaborate illustrations or longer interpretations.
- Bleed & safety margin: Always add a 3mm (0.125″) bleed area around your card edges (this ensures no white borders after cutting) and a 5mm (0.2″) safety margin (keep all critical text/artwork inside this zone to avoid being trimmed).
For the layout:
- Front of card: Artwork + card name/number (keep text minimal to avoid cluttering the design).
- Back of card: A repeating, reversible pattern (critical for Tarot decks, so cards can’t be identified when face down). Oracle decks may also use a unique back design, but reversibility is still recommended.
- Consistency: Use the same font family, color palette, and layout rules across all cards to create a unified look.
Design Tips
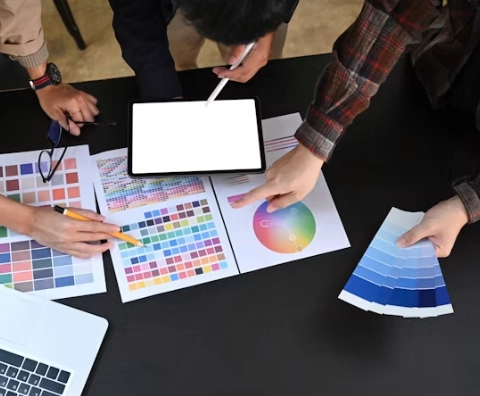
Unlock more pro design tips to elevate your custom Tarot & Oracle decks.
3. Create Your Artwork & Visual Style
This is where your creativity takes center stage. Follow these best practices for print-ready artwork:
- Color mode: Set your files to CMYK (not RGB) – RGB is for screens, while CMYK is the standard for professional printing (this prevents color shifts in your final product).
- Resolution: Export all artwork at 300 DPI (dots per inch) – this ensures sharp, clear details even in small text or fine lines.
- Art style: Choose a style that aligns with your theme (e.g., watercolor, digital illustration, linocut, minimalist line art). Avoid overly complex patterns that may blur in printing, especially on small card sizes.
- Color palette: Limit your palette to 4–6 core colors for consistency. Test your colors on different screens and print samples to ensure they translate well to physical paper (bright neon or overly saturated colors may not reproduce accurately).
Pro tip: Start with 2–3 sample cards first to test your style, color, and layout before designing the full deck.
4. Refine Typography & Text Elements
Typography plays a key role in your deck’s readability and mood:
- Font selection: Pick 1–2 complementary fonts (e.g., a serif font for card names, a sans-serif for keywords). Avoid overly decorative fonts that are hard to read at small sizes.
- Text size: Keep card names at 12–16pt (for Tarot) or 14–18pt (for Oracle) – any smaller will be difficult to read. Keywords or numbers can be 8–10pt.
- Placement: Position text in areas that don’t cover critical artwork. For Tarot Major Arcana, place the card number (e.g., “0 The Fool”) in a corner or along the edge.
- Accessibility: Ensure high contrast between text and background (e.g., light text on dark backgrounds, or vice versa) to make your deck readable for all users.
5. Prepare Print-Ready Files
Once your design is final, format your files for professional printing:
- File format: Export each card as a high-resolution PNG or TIFF (300 DPI, CMYK). For full decks, organize files into clear folders (e.g., “Front_Cards”, “Back_Card”, “Packaging”).
- Bleed & trim marks: Add trim lines to your files to guide the printer during cutting. Most printing services require bleed areas to be included in the final file dimensions.
- Packaging design: If you’re creating a custom box or guidebook, design these elements to match your deck’s style. Include the deck name, your brand, and a brief description on the box.
- Proofread: Double-check all card names, numbers, and text for typos – a single error can ruin an entire batch of printed cards.
6. Test with a Pre-Production Sample
Never skip the sample phase! A reliable printing partner will provide a physical pre-production sample before mass production, allowing you to:
- Check color accuracy (compare the sample to your digital design).
- Test paper texture and finish (e.g., matte, soft-touch, lamination).
- Verify cutting precision and edge quality.
- Confirm readability of text and clarity of artwork.
At PrintGild, we offer complimentary pre-production samples to all our custom deck clients, so you can validate every detail before committing to full production. This step is critical to catching issues early and ensuring your final deck matches your vision perfectly.
7. Finalize & Print Your Deck
Once you approve the sample, your printing partner will move to mass production. Work with them to:
- Choose your cardstock (e.g., 300gsm white core, 350gsm premium black core) – thicker stock creates a more luxurious, durable feel.
- Select finishing options (e.g., edge gilding, spot UV, embossing) to elevate your deck’s premium look.
- Confirm lead times and shipping details to align with your launch plan.
Design with Intent, Print with Care
Designing a custom Tarot or Oracle card deck is more than just creating artwork, it’s about crafting a tool that resonates with your audience and stands the test of time. By focusing on a clear concept, consistent design, and professional file preparation, you’ll create a deck that’s not only beautiful but also ready for high-quality printing.
At PrintGild, we specialize in bringing custom Tarot and Oracle decks to life with precision, luxury finishes, and personalized support. From file checking to pre-production samples, we’re here to guide you through every step of the printing process.